
In my opinion the most useful aspect of 3D printing is the ability to produce replacement parts.
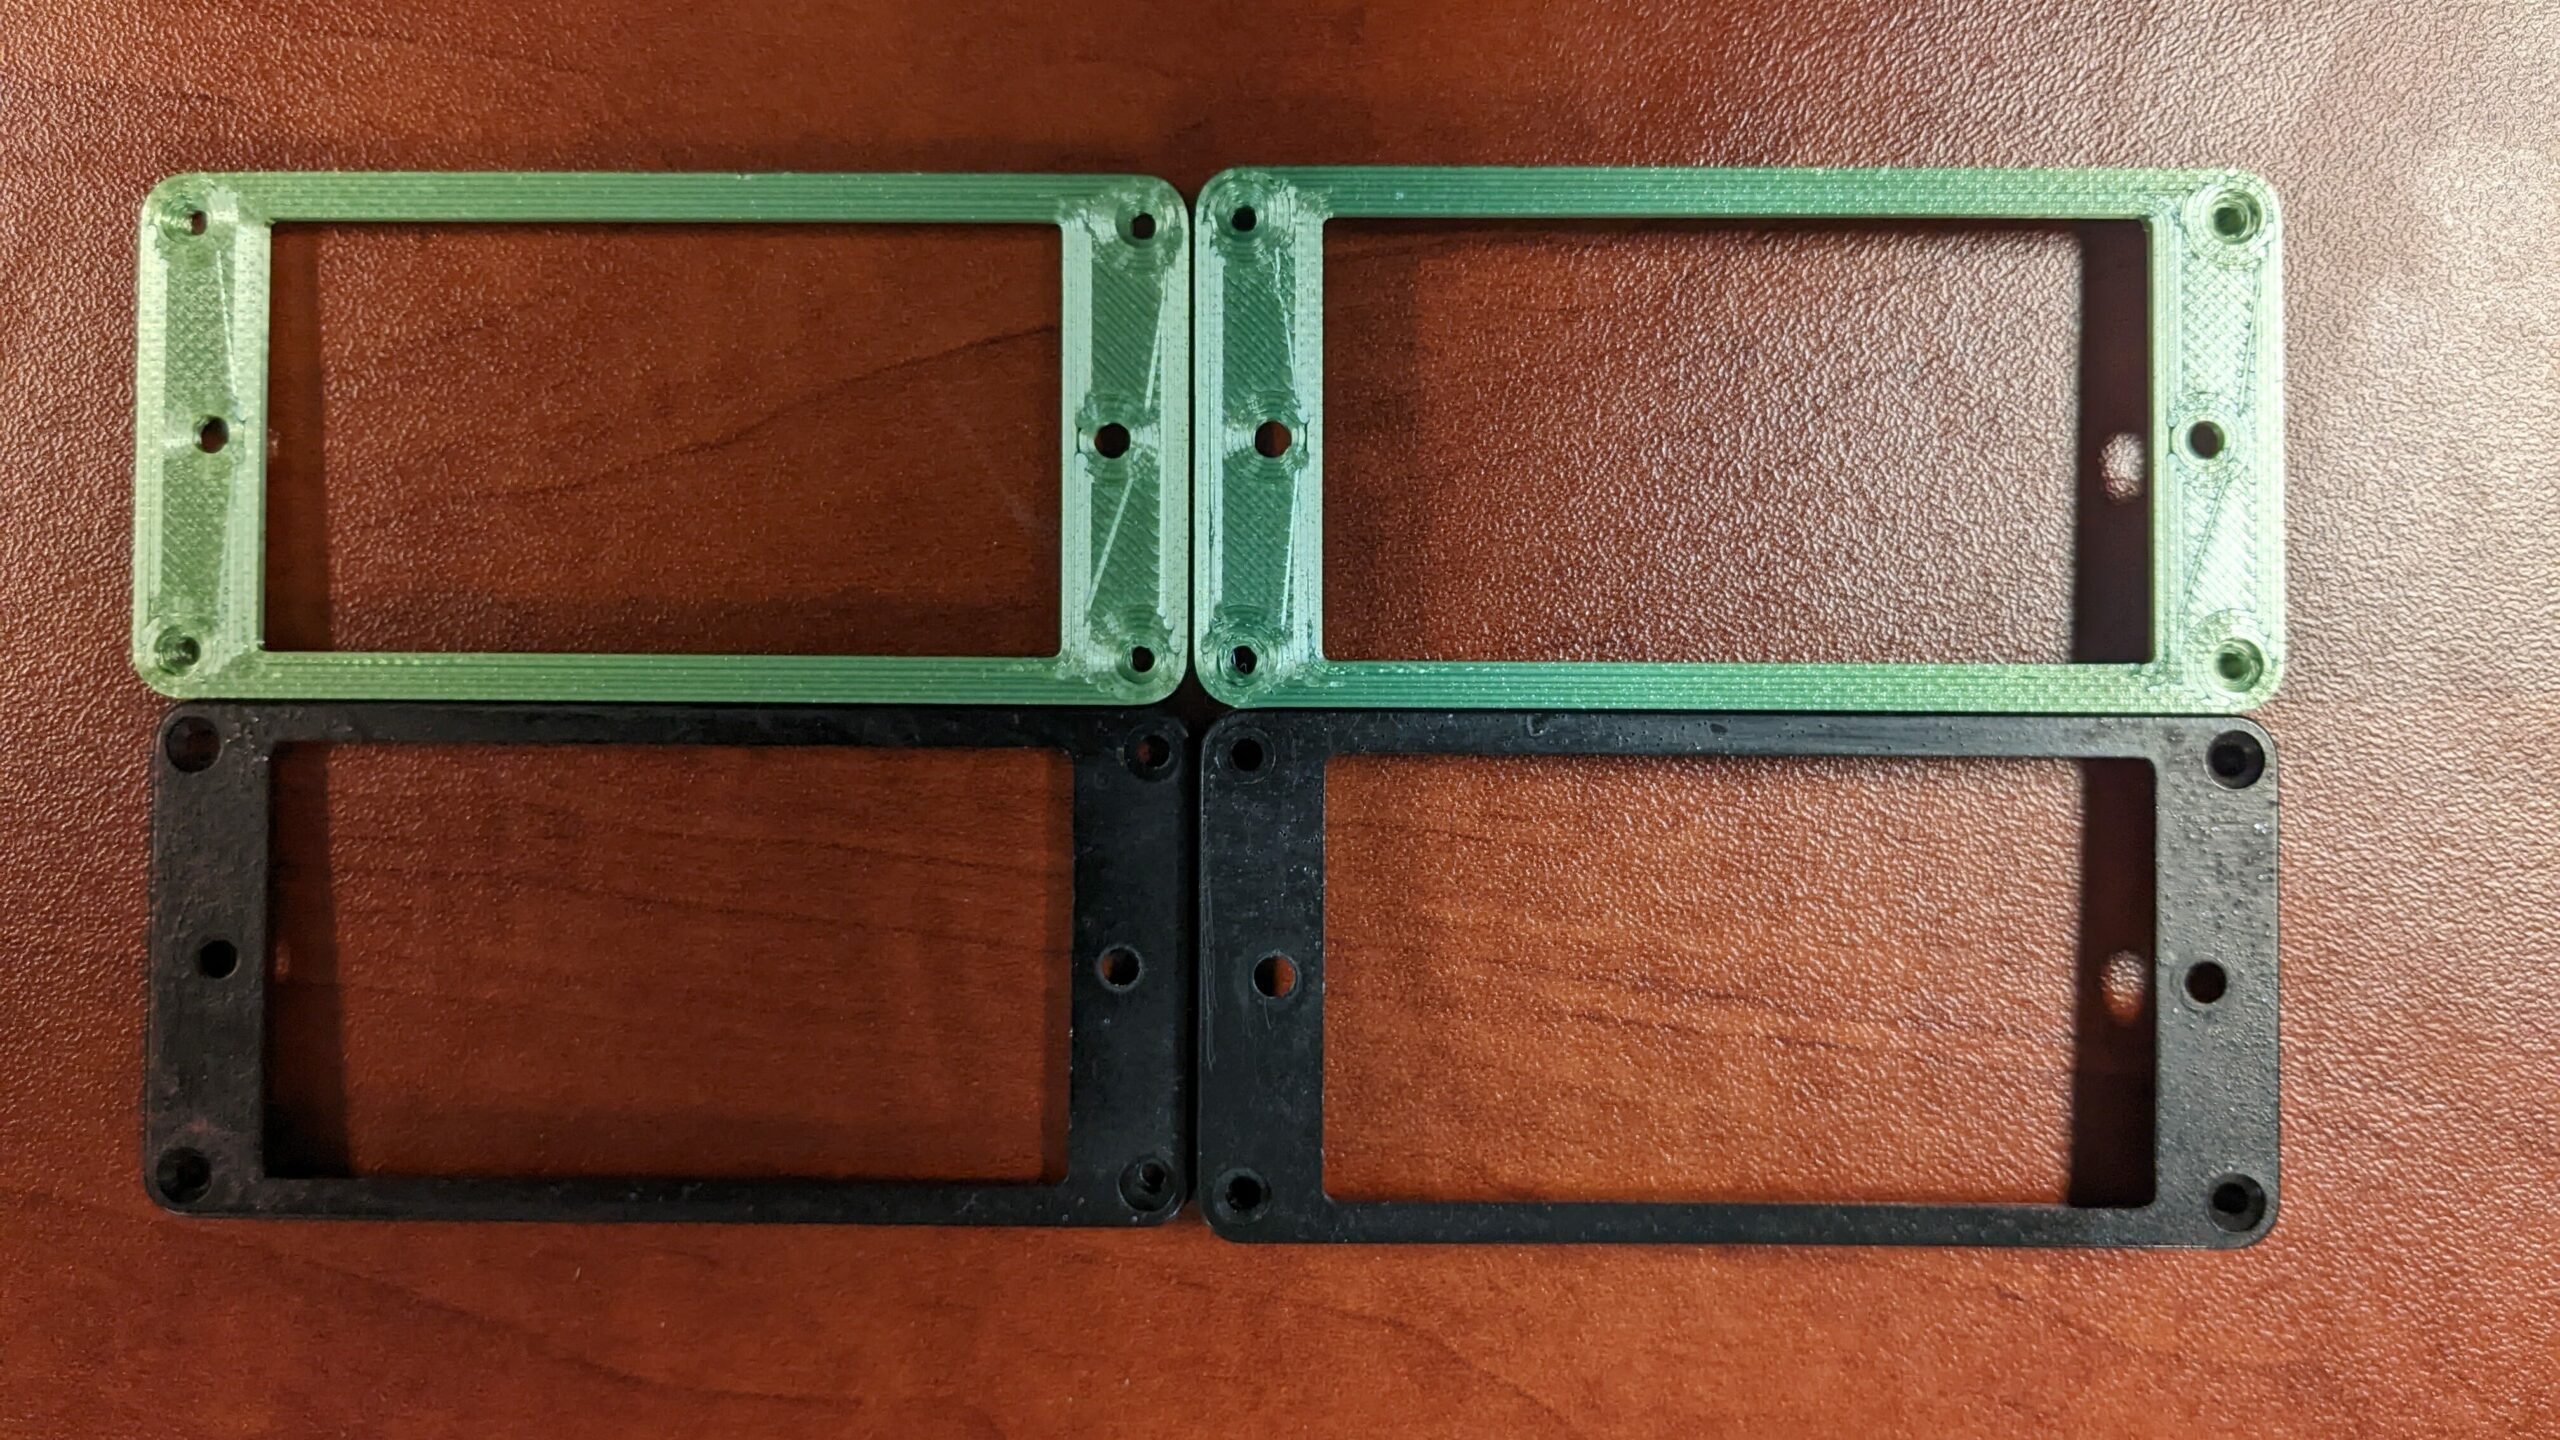
It’s not the prettiest, but here is my very first replacement part. 3D Printed on top, original set on the bottom.
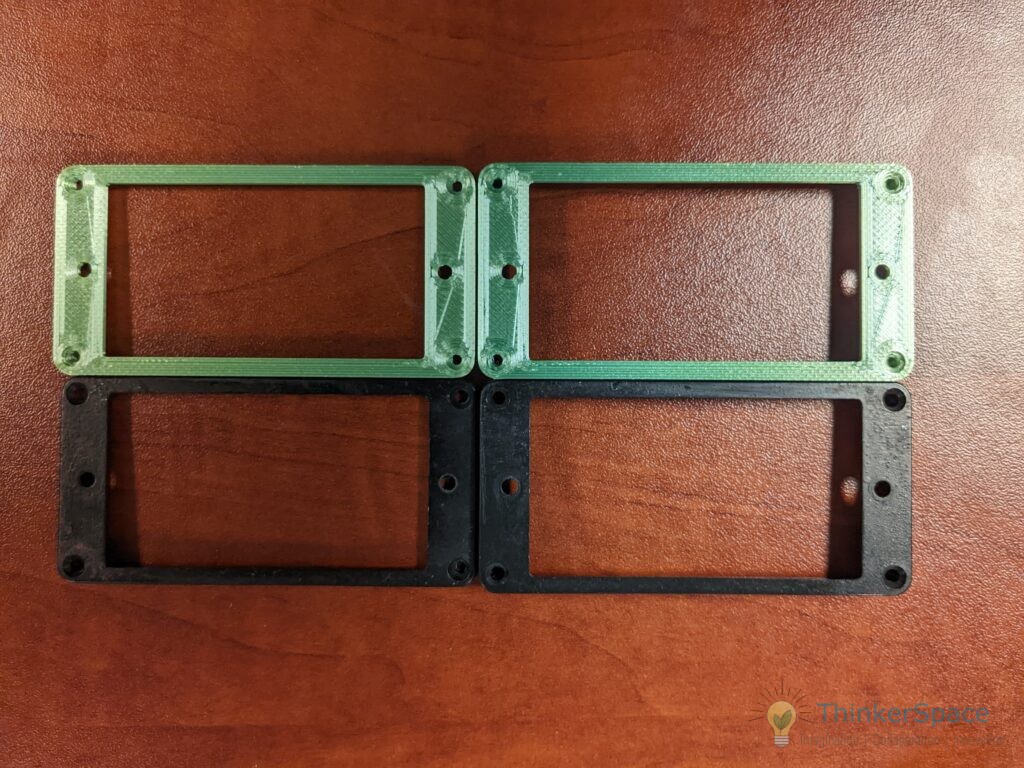
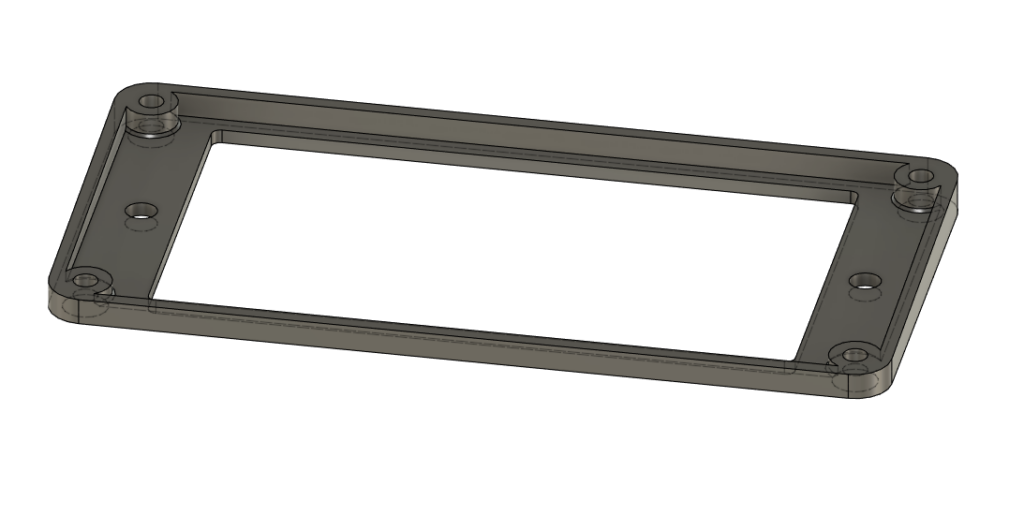
I was asked to replace this is a pair of electric guitar pick up plates. I was new to CAD design and it took me several hours to model this relatively simple part. I learned a lot and it was a great way to break into the field!
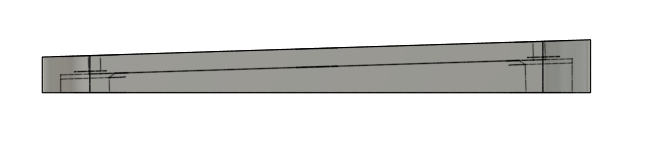
3D printing requires a different thought/design process, and translating a design “as-is” isn’t always the best approach. On the original piece the screw supports are thinner and separate from the outer frame. And since for this particular usage there was no clearance issues, we decided to make them thicker and merge them into the outer frame. This translates into a stronger piece and quicker print times.
My second replacement part was a little more complex, a set of rod holders a friend requested. The originals showed signs of aging and several had cracked, as seen in the picture top (the white one is the prototype replacement).
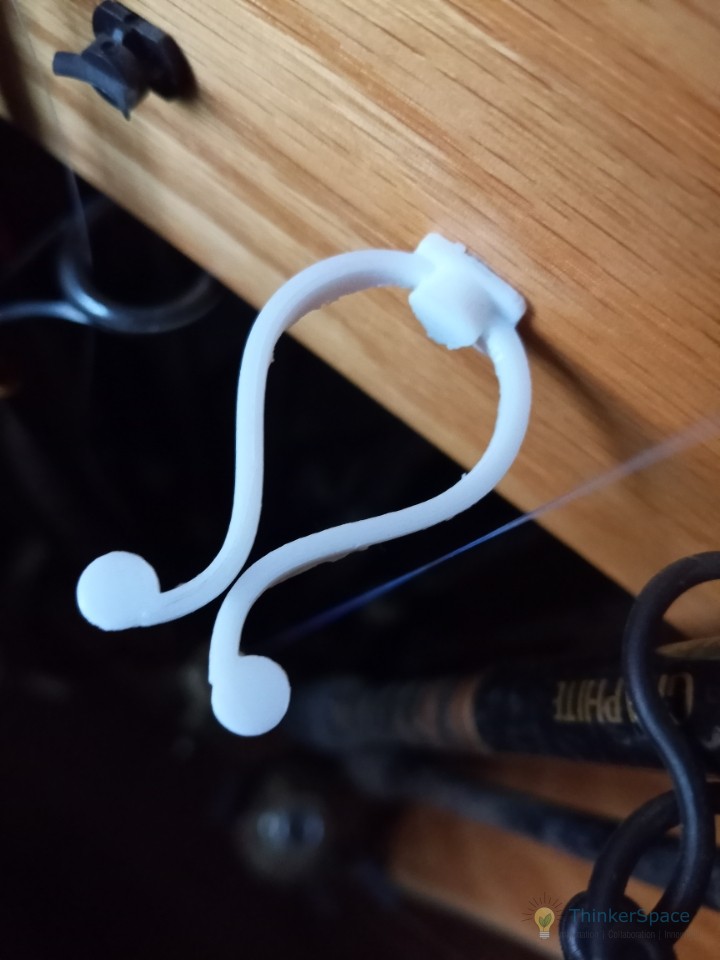
For this project I learned a lot about print “grain” how the direction a part is printed affects it’s strength and flexibility. The two arms of the rod holder are supposed to flex and twist around each other to create a lock.
Looking at the old part it seemed the point of failure was where the arms met the base plate. I designed it to pass through the base cylindar to give it more strength. The PLA filament did not have the same flexibilty as the original part/material. So some adjustments had to be made with the thickness of the arms and curvature.
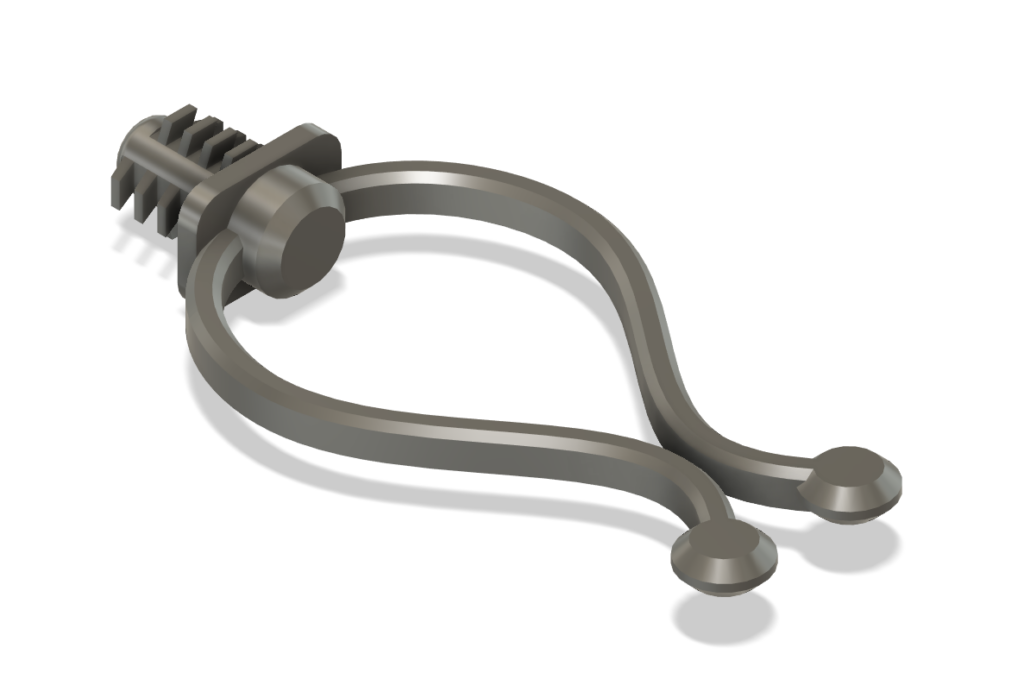
And here’s the finished model! I was quite pleased with how it turned out in CAD.
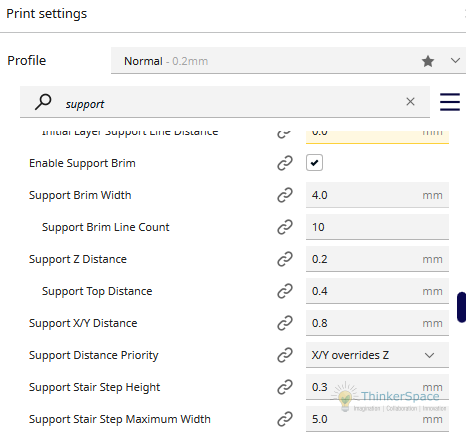
But printing it was a whole different matter! I ran into some issues with support material. I knew that it needed to be printed horizontally for strength, but couldn’t get clean separation of the support material. The solution was to increase (or make sure that there is sufficient) “Support Z Distance” in Cura. Mine was somehow set to 0mm so the support was stuck to the print. I increased this to one layer height or 0.2mm.
If you part is sagging under due to support material, you might try decreasing the support Z distance, if it is bonding to your parts then increase it!
The fins were another troublesome part, printing slowly they did ok, but if I were to do it over again, I would make them thinner and longer to allow more flex.
The next replacement part was a bracket for a set of blinds we found at the thrift store. They no longer sell these kinds of brackets at the big box stores. So taking a look at some other brackets blind brackets I based my design loosely on them but matching the dimensions of our blind set.

It turned out relatively sturdy, remember print grain when designing a part! For long term use I would reprint this in ABS or something a little sturdier than PLA but for now it works!

This is only the start of our design journey! As I learn more techniques both modeling in CAD as well as designing efficiently for 3D printing, I’m adding more tools to my toolbelt!
Leave a Reply